It’s all too easy to ignore the burnt food droppings at the bottom of the oven or that sticky spot in the fridge — that is, until the oven starts smoking when you turn it on or the fridge is overtaken by a mysterious odor. Most of us know we should be attending to our appliances more regularly than we do, but the busyness of life often takes center stage.
Now that spring cleaning season is in full swing, it’s as good a time as any to review existing cleaning habits, or lack thereof, when it comes to the tools we frequently use, and perhaps consider a more hygienic and healthy strategy for moving forward. And the good news is, simple and inexpensive household items like baking soda, white vinegar, and lemons are eco-friendly and can often do an outstanding job at getting appliances clean — expensive store-bought brands loaded with harsh chemicals are certainly not your only option.
House cleaning services company Molly Maid offers up a simple rule of thumb for when and how to clean appliances: The more often you use it, the more regularly you should clean it.
RELATED: 14 Spring Cleaning Products for the Ultimate Refresh — From an Electric Scrubber to Fancy Room Spray
Read on for specific appliance cleaning recommendations.
Refrigerator
The fridge is arguably one of the most-used household appliances, given its essential role in keeping you and everyone in your household fed, healthy, and happy. And given that most of a fridge’s content is designed to wind up in your body, a sanitary fridge is essential for good health.
Martha Stewart recommends weekly cleaning when it comes to keeping spills, smells, and germs in check, and a more thorough cleaning about every three months or so.
When you’re restocking your fridge with new items, it’s a great opportunity to do the weekly assessment, keeping an eye out for produce that has gone bad, forgotten leftovers, expiring products, and messes that have gone unnoticed. Simple cleaning solutions like baking soda, vinegar, and natural dish soap are some of the best choices for the interior. Ideally, a regular cleaning involves wiping each shelf, rotating food, and ensuring that there aren’t any overcrowded areas where airflow is restricted. Disinfecting the handle is particularly important, and cleaning the exterior with an appropriate surface-safe solution will have it gleaming on the outside, too.
As for that quarterly deep clean, prepare to remove all contents from your fridge, placing perishables in a cooler (or stand alone freezer, if you have one) while you work. Take out shelves and drawers for a more thorough scrubbing, not overlooking any built-in compartments or grooves. And to ensure that your gasket seams are clean, swipe them with a swab dipped in a water and vinegar solution.
Finally, a refrigerator’s coils should be tended to once a year, given that these help keep the machine running at an optimal temperature. (The user manual should provide instructions for this step.)
Stovetop
Better Homes & Gardens has some excellent tips for keeping your stovetop germ-free and sparkling.
Of course, it’s ideal to keep on top of spot cleaning as you go, wiping away spills as soon as it’s safe to do so (i.e. cool to the touch). The publication recommends a daily wipe-down with a cloth and a spritz of cleaner to prevent food and oil buildup.
A weekly scrubbing is also recommended, though the process will vary depending on whether you have a glass cooktop, a gas stove, or electric coil burners.
For those with gas burner heads, it’s essential that you consult your owner’s manual or find instructions for cleaning online as improper cleaning can cause your stove to malfunction or become hazardous.
Whether you’re looking to do a simple spot clean or preparing to put your muscles to work, check out these step-by-step instructions for different types of stovetops.
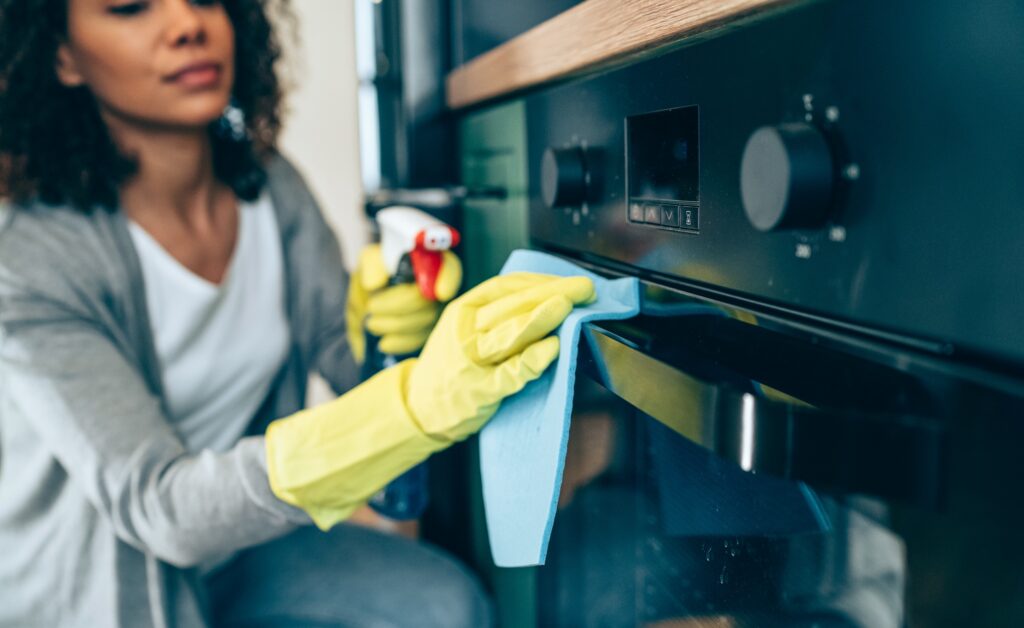
Oven
A clean oven is important for keeping germs at bay, and can actually impact how your food tastes.
Paul Bristow, executive director of built-in cooking at GE Appliances, told Real Simple he recommends spot-cleaning on a monthly basis, and more thoroughly cleaning every three to six months.
Of course, the self-cleaning feature, should your oven have it (and many modern ones do), will simplify the process. Running this function usually results in only needing to remove the remaining ash with a cloth. But be aware that this method locks up your oven for several hours and emits high levels of heat, so you’ll want to avoid tackling this task in the middle of summer. Furthermore, an unpleasant odor will likely be emitted, so you (and your pets) will want to steer clear.
For older oven models, or if the mess is particularly stubborn, you can either go the route of store-bought oven cleaners (which require adequate ventilation given the chemicals involved), or try a more holistic yet still effective method using baking soda, vinegar, and water. Click here for the instructions.
Garbage Disposal
Not surprisingly, a garbage disposal — an appliance that has lots of nooks and crannies and is used for the disposal of perishable food scraps — can quickly become trapped with odors. The upside is that it’s fairly easy to keep this kitchen helper relatively fresh.
Per Martha Stewart, the disposal should be cleaned about once a month to keep this area from becoming a breeding ground for bacteria. As with many other kitchen appliances that come into contact with and are near your food prep spaces, baking soda, vinegar, and lemons are your disposal-cleaning all stars.
If you’re looking for a simple cleaning method, first turn off your disposal’s electrical source, then sprinkle a ½ cup of baking soda down the drain, followed by 1 cup of vinegar. After allowing that to bubble for about a minute, simply flush the drain with hot water.
Still plagued by odors? Find more extensive cleaning steps here.
Dishwasher
It may seem strange that a dishwasher would require any cleaning given that it’s regularly filled with detergent and hot water, but grime and odors can become a problem — food scraps, soap scum, and even grease can build up over time around the drain area and in other hard-to-reach places.
Follow the below steps for deep-cleaning your dishwasher, courtesy of home improvement expert Bob Vila:
1. Wearing rubber gloves, remove the bottom rack and examine the area around the drain, removing any gunk or particles you find. If your dishwasher has a filter, be sure to take that out and clean it.
2. Fill a dishwasher-safe container with a cup of white vinegar, place it on the empty upper rack, and run the machine through a hot water cycle.
3. Sprinkle a cup of baking soda across the bottom of the dishwasher, and run a short hot water cycle.
4. If any stubborn mold or mildew remains, in some cases, a cycle run with bleach may be required, although this step should not be utilized if your dishwasher has a stainless steel interior or stainless steel parts.
5. Repeat this process every one to two months to extend the life of your dishwasher and ensure that it’s delivering a thorough, sanitized cleaning of your dishes every time.
Microwave
Following the fridge, the microwave is among many households’ most-used appliances, so it’s no surprise it can harbor bacteria and bad odors without the proper upkeep.
Microwaves should be cleaned at least once a week, per Tom’s Guide — and if you use it a lot, a biweekly cleaning might be in order.
Fortunately, most of the simple cleaning ingredients noted previously rise to this challenge, too. You can make a paste out of two parts baking soda to one part water, apply it to the interior, and then wipe it down with a damp microfiber cloth. Or you can add two tablespoons of baking soda to a bowl with one cup of water and microwave that for three minutes, then leave it inside for 15 minutes. After the time is up, remove the bowl from the microwave, and wipe the inside down with a microfiber cloth.
You can use a similar trick with lemons: Fill a microwaveable bowl with water and the juice from one lemon, microwave for three minutes, let it stand for five minutes to steam, then use a damp cloth or sponge to wipe down the interior. An added bonus with this method is that your microwave will smell citrusy fresh!
Washer and Dryer
Most of us are probably guilty of neglecting our washer and dryer to some extent. Fortunately, Popular Science has some super simple tips on how a little effort could have a big payoff down the line.
As is the case with any appliance, consulting the owner’s manual for your machines is the best idea, but the below tips can at least ensure you’re doing the bare minimum.
For your washer, a monthly simple cleaning is ideal, and a deep clean is a good idea every three to six months, depending on how much use your machine gets.
Once again, vinegar, bleach and baking soda are your friends when tackling this task. Using a spray bottle filled with vinegar makes an easy job of regularly cleaning the inside and outside of your washing machine. Don’t forget to wipe gaskets, seals, and crevices, too. Bleach and a microfiber cloth, sponge or small brush can help tackle more serious mold and mildew issues. And baking soda is fantastic for deodorizing and scrubbing problem areas. Plus running vinegar through a wash cycle can give the interior a more thorough cleaning.
Dryer maintenance is equally important. As Popular Science notes, approximately one-third of house fires are caused by clogged dryer vents, so it’s imperative that lint be removed regularly.
Most of us know to remove the lint from the lint trap after each load, but did you know your lint trap could use some additional love? Beyond pulling the fluff from the lint trap, you’ll want to scrub the mesh trap occasionally with a small brush dipped in warm soapy water. While that’s drying, vacuum the interior of the machine using a crevice tool (if you have one).
Cleaning the vent duct and exterior vent are bigger jobs, but important ones. The good news, though, is that this level of cleaning can be done less frequently, around every two years or so.
For more information on how to clean your washer and dryer, read the outlet’s detailed guide.
Water Heater
Cleaning your water heater may sound like one of the more daunting tasks on this list, but when you break the steps down, it’s a very manageable task. In fact, the experts at Home Depot categorize this as a beginner-level project that can be tackled in about two hours — one you’ll want to repeat annually, or every six months if you have hard water. Without maintenance, the heater’s efficiency can decrease, and you may even find yourself with clogged water lines over time.
The first step is to turn off power to your water heater. (If it’s a gas heater, you’ll want to turn the gas off at the source.) To drain the tank, you’ll connect a garden hose to the water heater drain outlet, and put the other end near a floor drain or outside. Emptying the heater should take about 25 minutes or so. Then you’ll want to flush out any remaining sediment from the bottom of the heater.
Steps like adjusting the temperature and relighting the pilot light can get a little more complicated, so it’s best to consult your owner’s manual (or finding it online) is definitely a smart move, though Home Depot offers some general tips, too.
We hope you’re pleasantly surprised, and inspired, by how a little love given to your appliances can go a long way in supporting their longevity, and your own health.