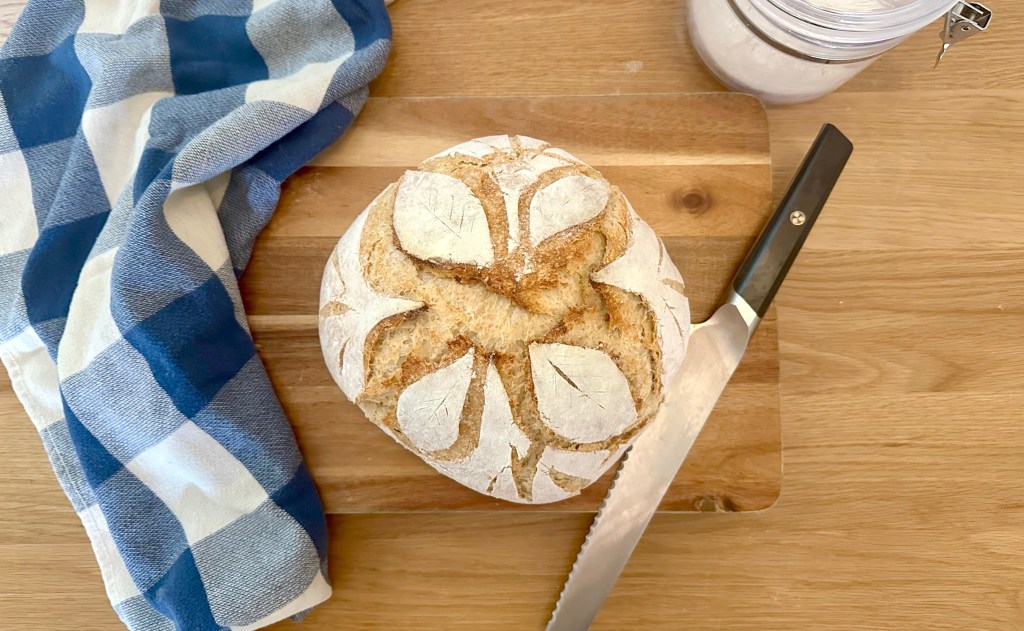
There’s something about sourdough. Even if you prefer a crusty French baguette paired with your bowl of soup, as I do, a sourdough loaf has undeniable appeal. It’s chewy. It’s tangy. It’s made from a weird living thing you keep in your fridge and feed like some sort of gooey pet.
Ah yes, as so many stir-crazy people became intimately familiar with during the COVID-19 pandemic, that last bit is what makes the beloved bread stand out. Similarly to other delicious foods — kefir, cheese, kombucha — sourdough’s trademark taste comes from a flourishing community of microbes. In this case, that ecosystem arises in a sourdough starter, which is used as the bread’s natural leavening.
A starter is simply a mixture of flour and water that has fermented at room temperature, allowing wild yeast and lactic acid bacteria in the flour and environment to multiply. According to a 2023 study, the microbes within sourdough starters can vary drastically depending on which flour they come from — and those variations lead to differences in the taste, texture, and other characteristics of the loaves.
For that research, scientists set out on the massive undertaking of creating and feeding 40 starters based on 10 different flours, from unbleached all-purpose to rye and gluten-free. I can confidently call this a massive undertaking because I recently decided to try my own hand at baking sourdough — and just getting my one starter active and ripe was a bigger project than I anticipated.
It was fun, though, and I’m here to share my sourdough journey with you, from start (sorry, had to) to finish. Note: If you’re an experienced baker, this “tutorial” — which is being generous, TBH — is really not for you. It’s for beginners. And I mean, beginners. I cook most nights and have whipped up countless cookies and cakes, but the only “bread” I’ve ever baked is banana.
Many of the recipes and articles I perused during this process said some variation of the same thing: “All you need to make sourdough is flour, water, and a little time.” I’m here to tell you “a little time” is an understatement. From beginning to end, time was the critical ingredient.
Follow along with me, won’t you?
Things You’ll Need
- Flour (all-purpose, whole wheat, or both)
- Water
- Kitchen scale (not totally necessary, but helpful to have)
- Various bowls
- Container for your starter (large mason jar, deli container, or crock)
- Salt (for the bread recipe)
- Something to bake your bread in (I used a Dutch oven)
Step One: Get a Starter Going
There are a couple of ways to get a starter going. Make it yourself, ask someone for a bit of theirs, or buy one online.
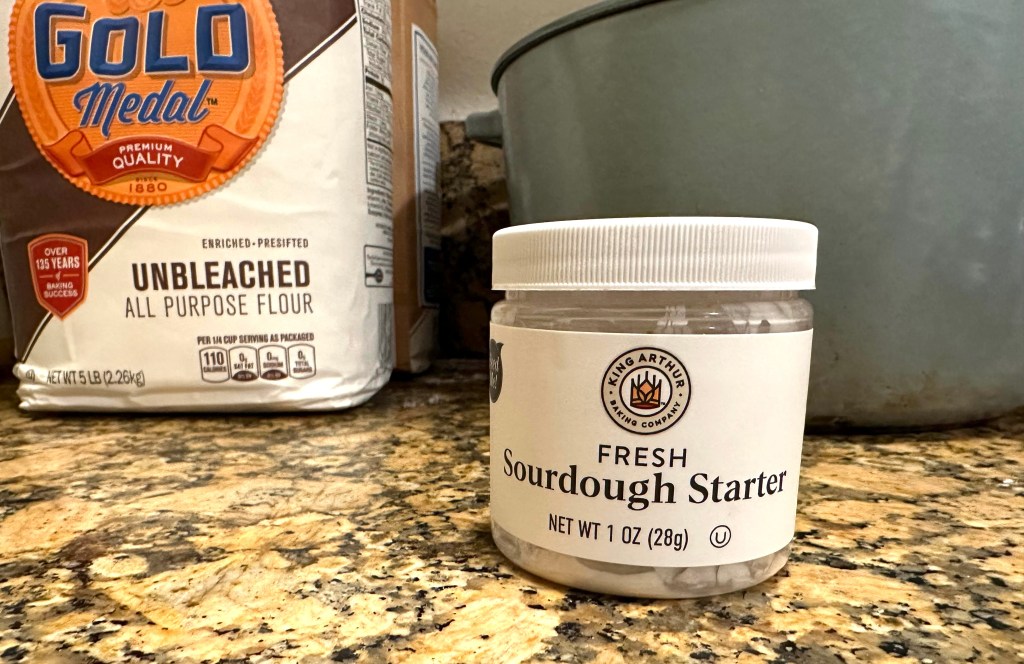
The premade starter I purchased out of fear
While a few of my friends had forayed into sourdough baking in the past, no one currently had any starter they could package me up a glop of. I really should have made one myself — all that’s required is mixing together flour and water — but alas, I was worried I’d somehow fail at imparting the magic needed to activate it. So I ordered a starter from King Arthur Baking Company.
As it turned out, due to some timing issues (I told you), going with an already fermented mixture took me just as long, if not longer, as starting from scratch: about 10 days.
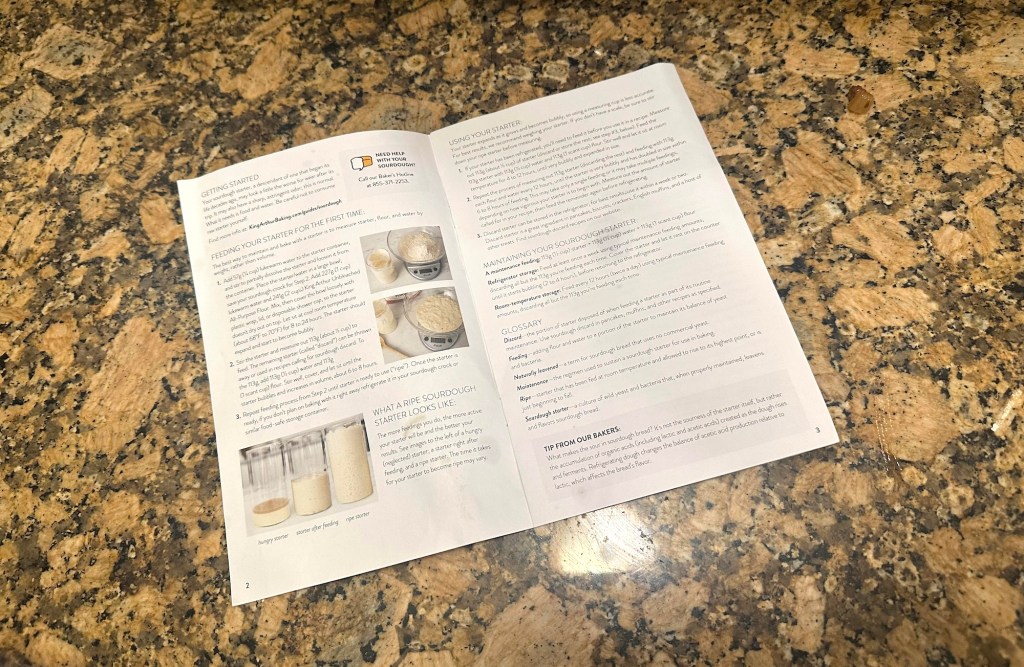
My well-worn instructional booklet
The plus side of purchasing one is that it came with a handy printed booklet with instructions, photos, and recipes. That booklet became my bible — and also the bane of my existence.
Step Two: Feeding Your Starter
I’d always been under the impression that “feeding a sourdough starter” involved simply adding something to the starter and mixing. In actuality, each time you feed, you need to measure out a quantity of your existing starter, combine it with equal parts flour and water, and then throw out the remaining sourdough starter, called sourdough discard. Alternatively, you can save the discard and use it in certain recipes.
You could opt not to discard any starter, but then you’d have an ever-growing starter monster that would “eventually fill your home and/or eat your block,” as food writer extraordinaire Margaret Eby put it in her exhaustive yet accessible guide.
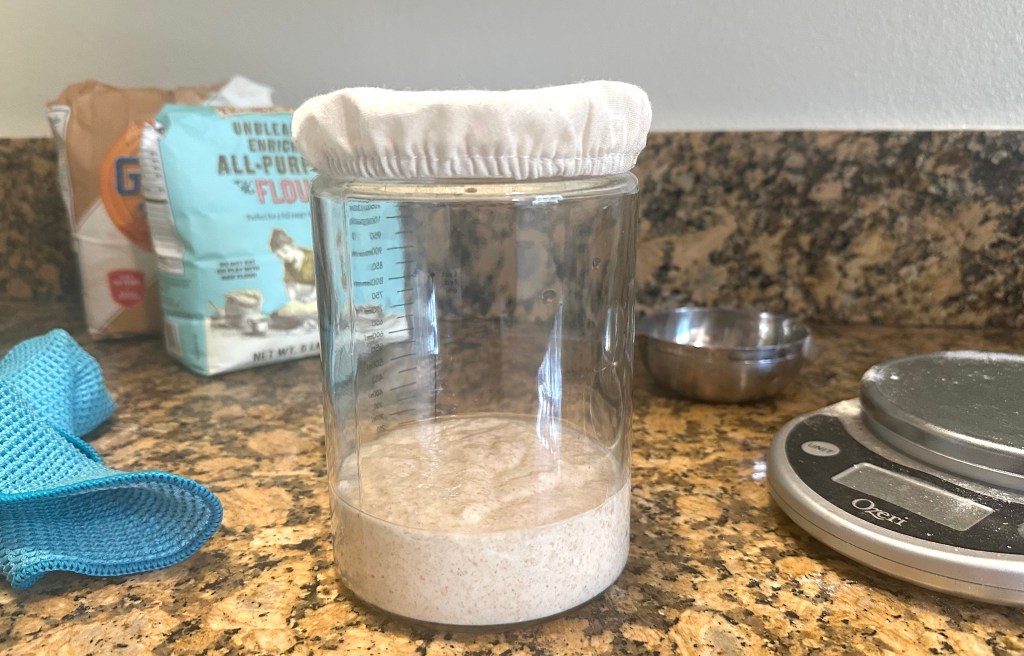
My starter in its new home
It’s best practice to use a kitchen scale to weigh your starter components. Measuring cups can vary, and your starter itself will be filling with air between feedings. An added perk: Using a scale cuts down on the amount of dirty dishes (biggest motivator for me), because you can just zero it after each addition to your mixture. That said, it is possible to measure by volume; the most important element of feedings is ensuring that all three parts are equal.
Note: If you’re making your own starter, you’ll need to first get it active before you begin your regular feedings. Whichever recipe you use should provide you with a time frame to let it ferment before implementing a feeding schedule — typically around two or three days.

Beginning to bubble
Once your starter is active, every time you feed it, you’ll let it sit and ferment until it begins bubbling and has increased in size. Leave it sitting on the counter in its crock or jar — any tall, wide-mouthed receptacle will do — and repeat the feeding process twice a day until the starter is “ripe,” or ready to bake with. My printed instructions said every six to eight hours, but this digital version says every 12.
While the starter is maturing, it’s good to let your container have some access to air. The one I used came with a handy cloth top in addition to an airtight lid.
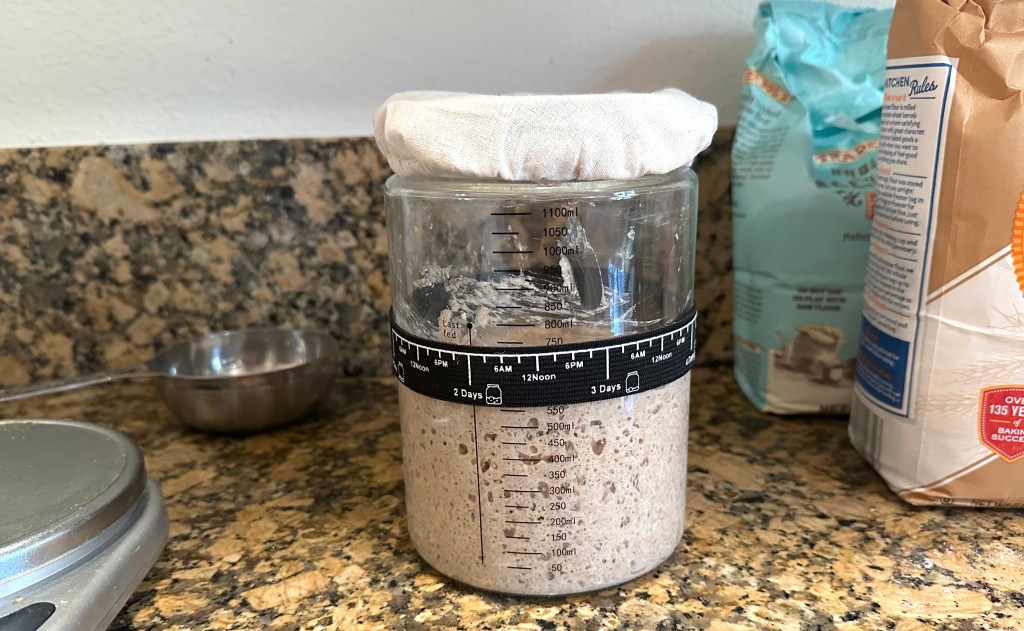
After I started using whole wheat, here’s how it looked about four hours following a feeding
This is where my helpful booklet had me panicking. Per the photos, a ripe starter looked to be about triple the size of a hungry starter. I fed and fed, but my starter was not tripling in size. Also, with family in town and other busyness, I didn’t always have the time to tend to my new pet twice a day, so I missed a few feedings. In these cases, I put the starter in the fridge. Doing so slowed down the production of yeast, which set me back.
Though I’d been using unbleached all-purpose flour, I decided around Day 7 to start feeding with whole wheat to accelerate the fermentation process. Once I did, my starter began really bubbling and growing and smelling like sourdough — but still not tripling in size. Finally, after reading enough other guides that said it merely needed to double, I decided it had been long enough and that my starter was ripe.
Step Three: Baking the Bread
Once your starter is ripe, it can get by with weekly feedings rather than twice daily feedings, and it can be kept in the fridge full time. You just want to make sure that the day you’re planning to bake, you remove it from the cold temperature, feed it, and let it get big and bubbly at least four hours before baking. Unless you’re making multiple loaves, you’ll likely only need a portion of your starter.
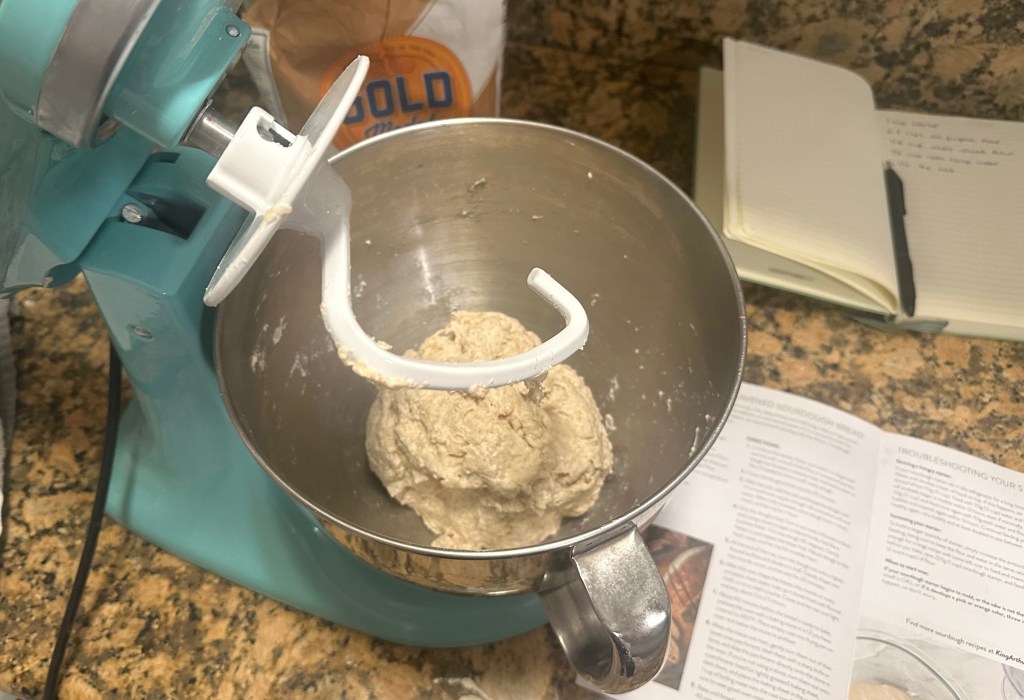
My poor, neglected KitchenAid finally had a chance to shine
When the day came for me to bake, I eagerly turned to the “Naturally Leavened Sourdough Bread” recipe in my booklet — and was disappointed to read that for beginning bakers, the company recommended starting with a different recipe … that included yeast!
I had just been a slave to my starter for the past 10 days. Worrying. Rushing home to feed. Replacing the batteries on my scale from so much use. There was no WAY I was going to just go out and buy some commercial yeast. I scanned the web and some Reddit forums for other recipes, but eventually became overwhelmed by the time required for many of them (in some cases 24 hours in total). I’d had my heart set on baking that day, and it was already after 4 p.m., so I nervously chose to stick with the first recipe, which only required about 6.5 hours.
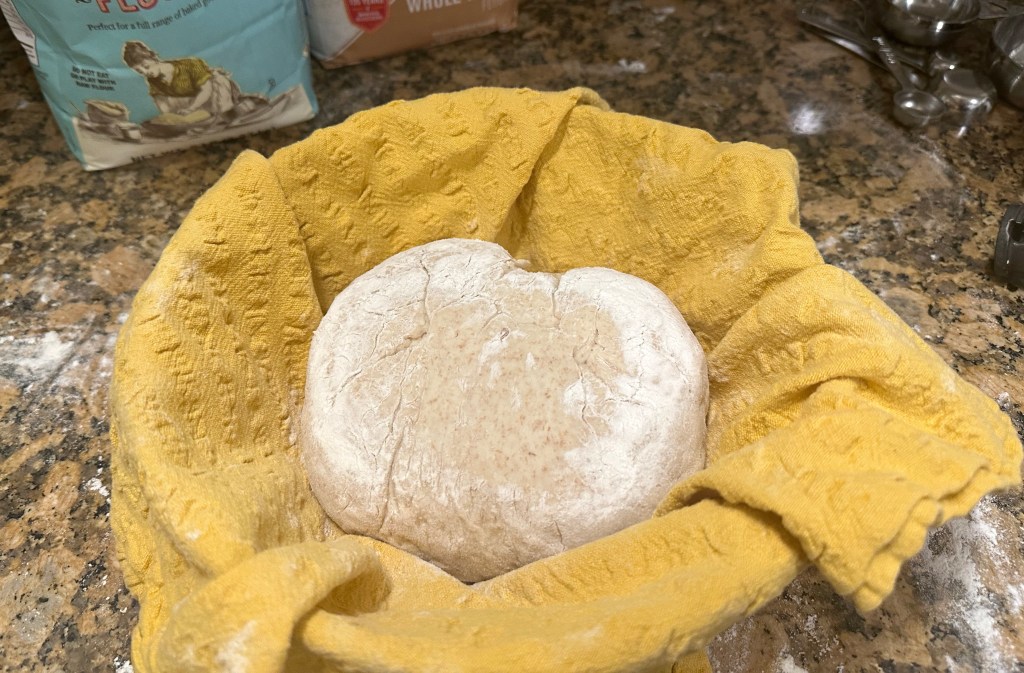
My boule, bottom side up, after my first two rises but before the final rise
I won’t walk you through it step-by-step, and I’m not going to delve into all of the vocabulary — like levain, autolyse, and bulk rise — because knowing it all isn’t necessary for a beginner, but the process involved these major steps: mixing, resting, kneading, rising, folding, shaping, and scoring. There are a ton of different recipes, some of which don’t require kneading, but the ingredients are all the same (flour, water, salt, and starter), so choose whichever you feel good about and go for it.
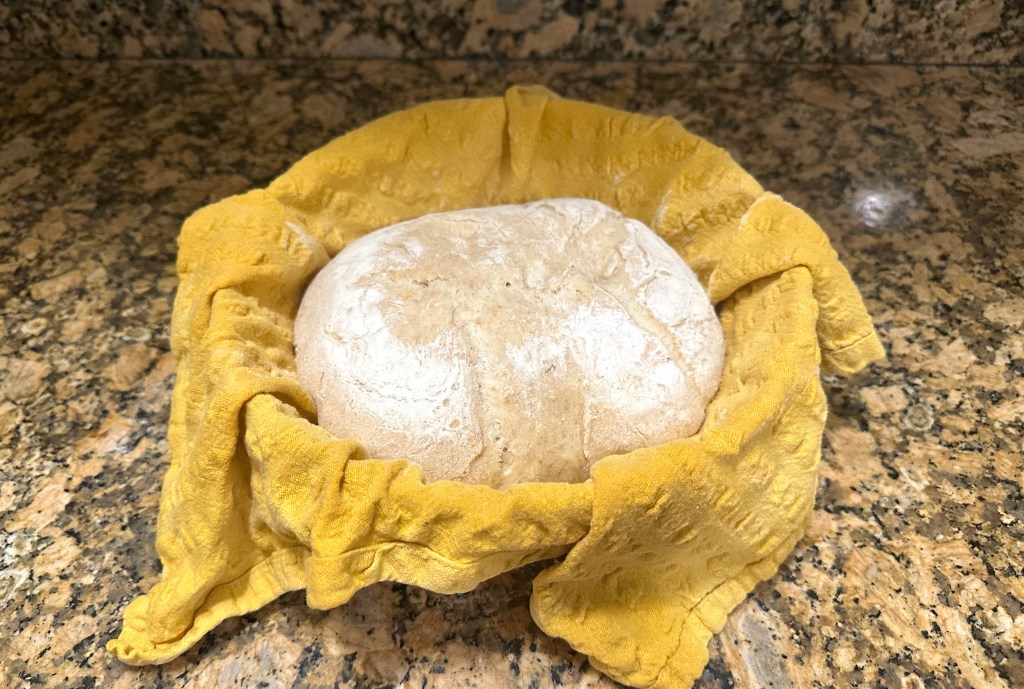
After my final rise
The one thing all recipes have in common is letting your dough rise, or proof. And because there isn’t any added yeast, this step takes a lot longer than it does for other breads. During my third and final rise, which took about 2.5 hours in a warm kitchen, I swept and vacuumed my floors, watered my plants, took out the trash, and did a load of laundry.
The best part was that when my husband arrived home from running errands and remarked upon the improved state of our condo, I had the pleasure of roleplaying that it was nothing out of the ordinary: “Oh you know me, honey, if I don’t have a squeaky clean house and a batch of bread dough rising on the counter, I just don’t feel at home!”
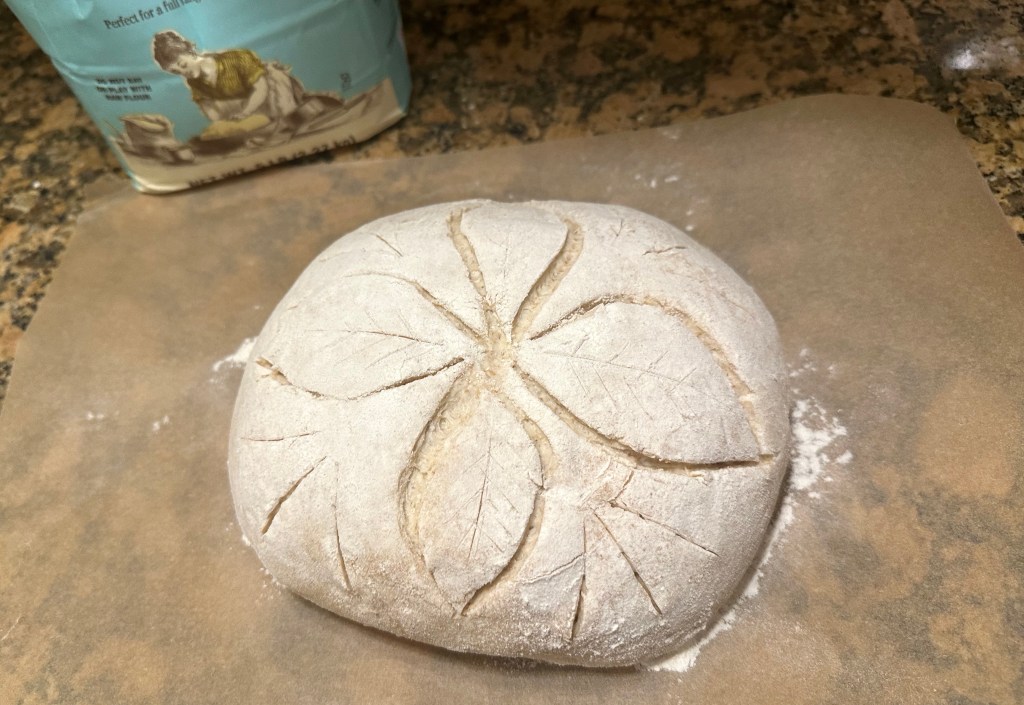
For my first time scoring, I think I did OK
After my last rise, and nearing 10 p.m., I decided to score my bread beyond the simple marks that would allow it to expand in a controlled manner. I chose a not-too-intimidating design and lightly dusted my boule with flour to emphasize the contrast. You can score with a special bread scoring tool called a lame, but I had read that a clean razor blade works just fine.
Finally, I popped it in the oven in a preheated Dutch oven lined with parchment paper. When it looked crispy and golden, I took it out and let it cool for an hour. I was relieved to see it looked like sourdough bread. But would it taste like sourdough bread?
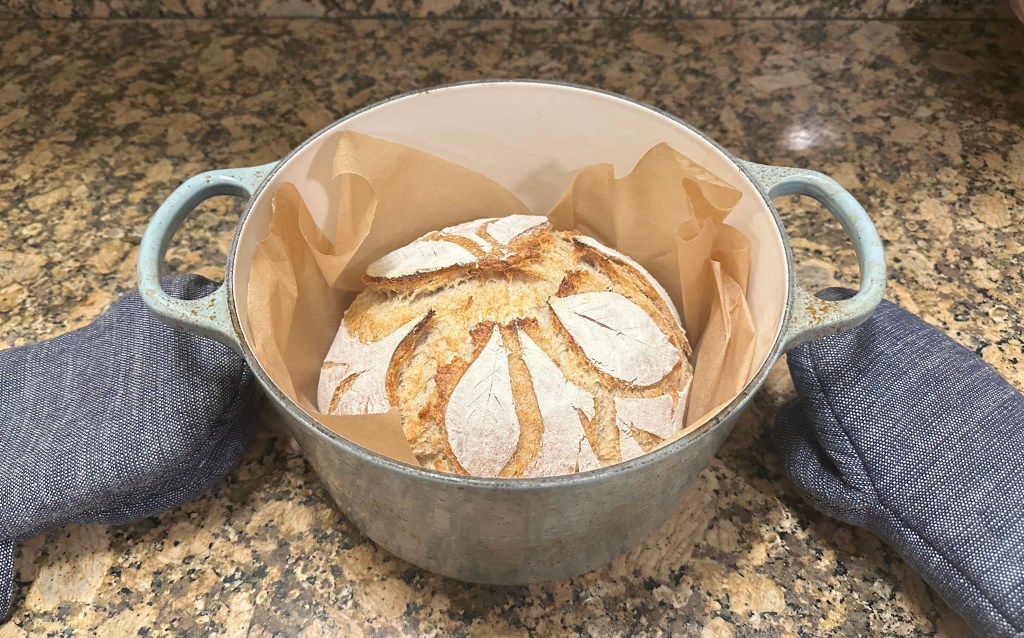
Ta-da!
Yes! It was chewy and tangy and delicious! I stood in the kitchen gnawing at a slice in triumph, imagining the tomato soup I’d cook the next night to serve alongside it.
The great thing about sourdough bread baking, like all baking, is that there’s room to grow. My loaf was a bit dense, possibly from under- or over-proofing, and my score marks a bit too deep — but I’m confident these are things I can improve upon. All in all, I was pretty proud of myself.
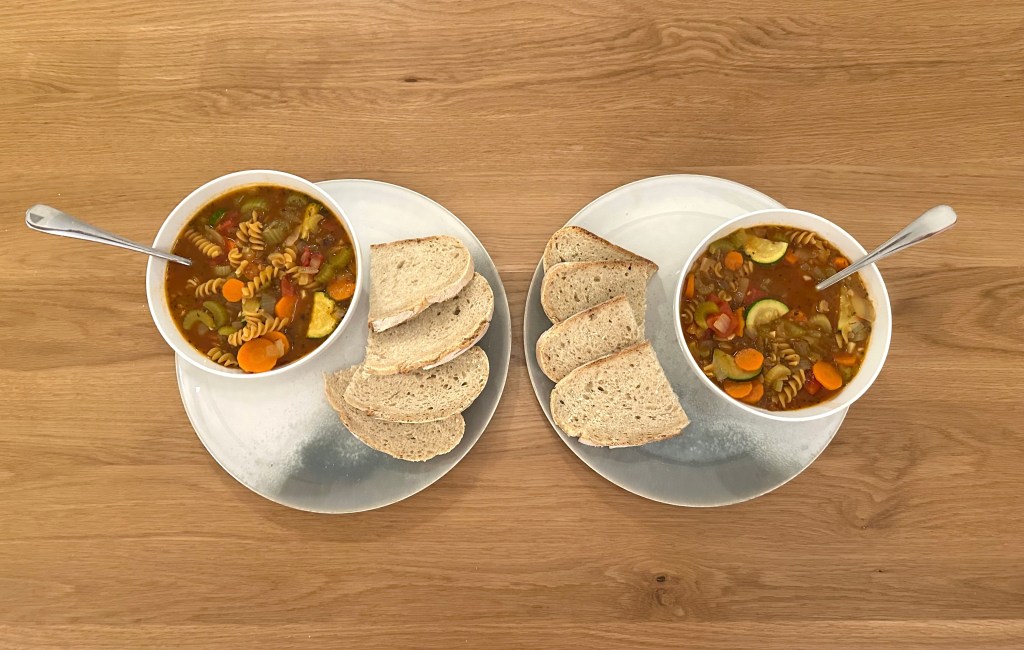
The soup was tasty, too
I just had one more thing to do before I headed to bed: feed my starter.
